
1.Hexo安装
以macOS为例
安装Hexo:
npm install -g hexo-cli选好要安装的目录:
your/custom/path,然后进入该目录cd your/custom/path然后初始化Hexo:
hexo init blog进入blog文件夹:
cd blog安装依赖:
npm install启动服务:
hexo server访问:
localhost:4000
2.主题配置
在
blog目录下:首先:
git init然后:
git submodule add https://github.com/Your/Hexo_Theme.git themes/Hexo_Theme_Name修改
blog目录下的_config.yml1
theme: Hexo_Theme_Name
3.部署到Github
- 修改
blog目录下的_config.yml
1 | deploy: |
- 安装
deploy-git:npm install hexo-deployer-git --save - 然后:
1 | hexo clean #清除之前生成的东西 |
部署完成,访问your_github_username.github.io即可
- 使用自己的域名:
your_github_username.github.io -> Settings -> Pages -> Custom domain
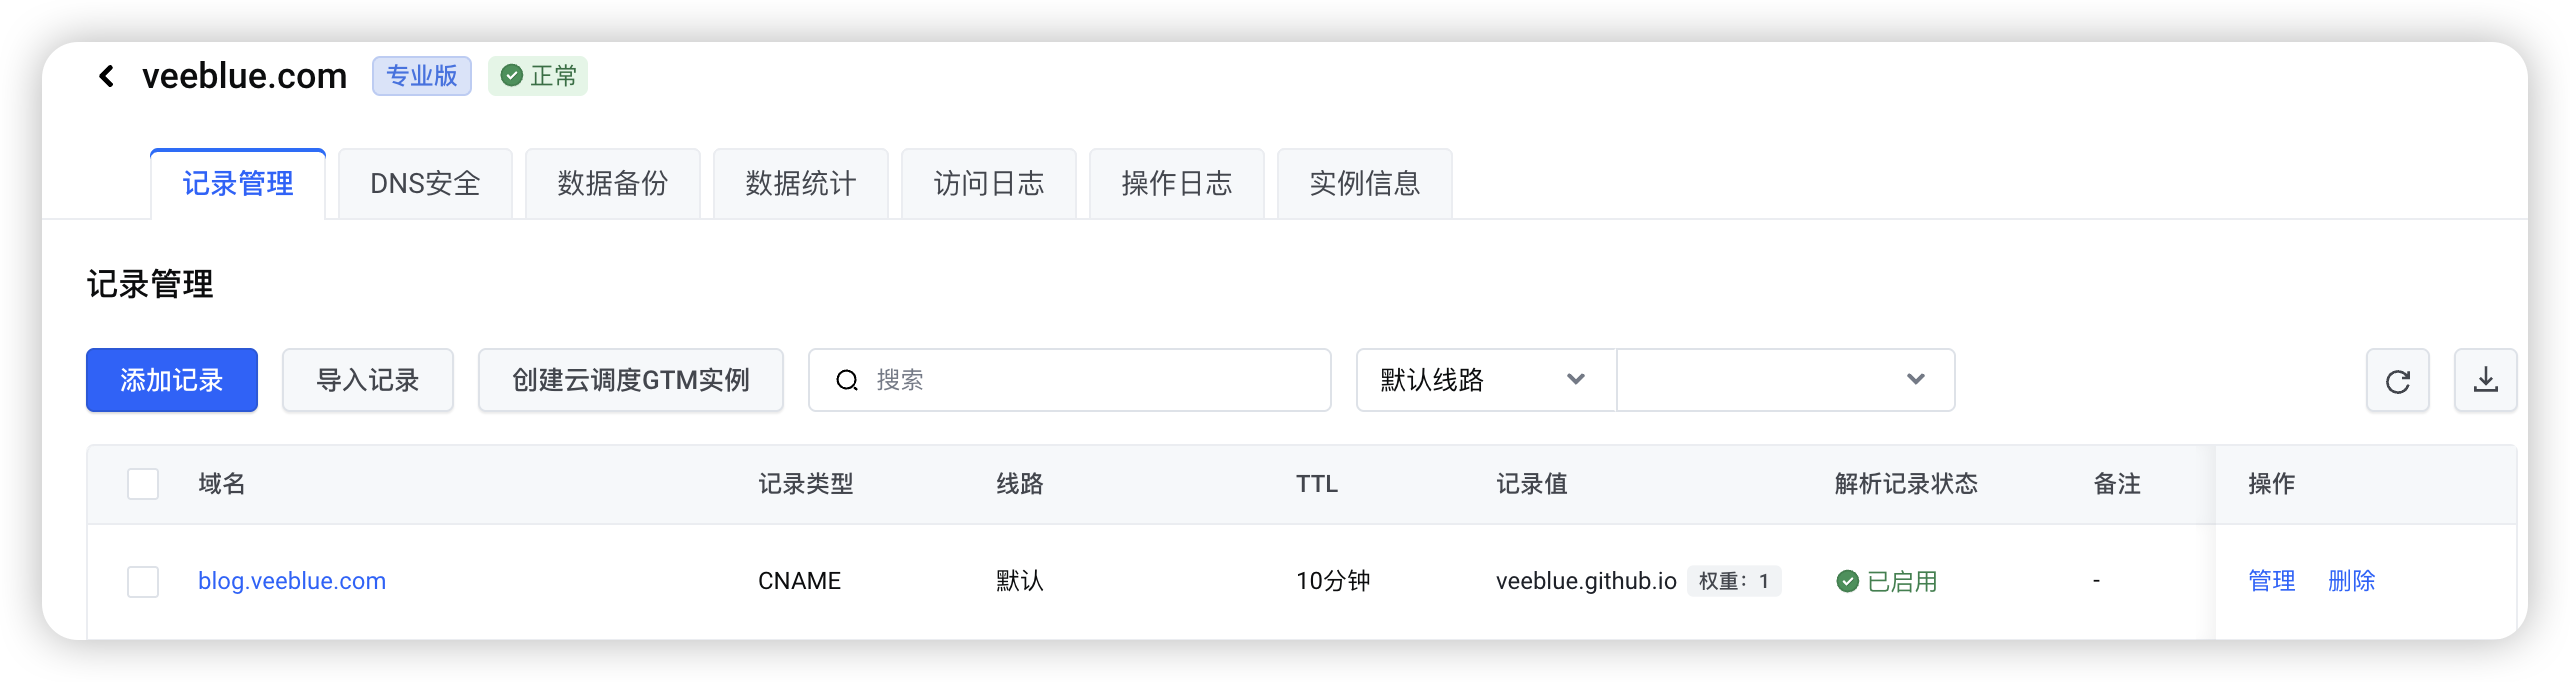
使用自己的域名首先解析一下域名
使用hexo d部署完后域名会失效,需在source文件夹下新建一个CNAME文件,内容为你的域名。
About this Post
This post is written by Veeblue, licensed under CC BY-NC 4.0.